A CLOSER LOOK
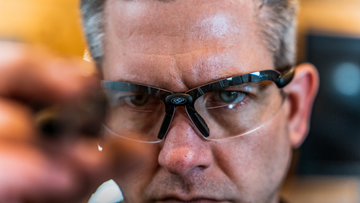
PRO Safety Glasses
Simple clear-lens choices, with classic black or colored temples.

Simple clear-lens choices, with classic black or colored temples.
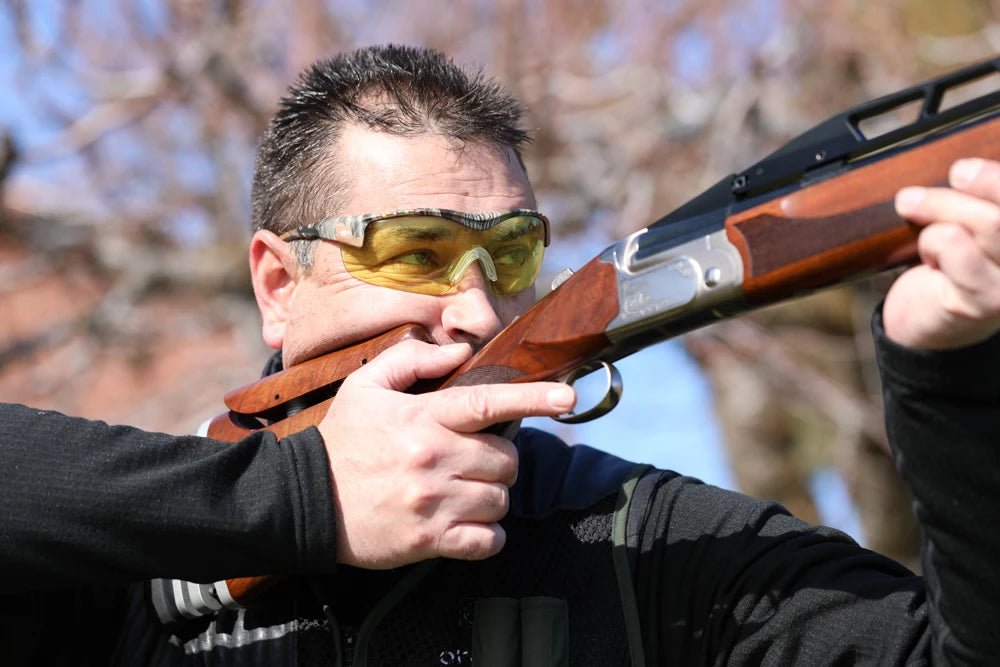
A wide view with interchangeable lenses for outdoor adventures and the range. Lens options for your eye color and changing light.
Explore Methow Kits
A traditional two-lens frame with interchangeable lenses. Choose Center Fire for amber, clear, and smoked lenses, or Clay for its HD lens selection.
Explore Chelan Kits
Polarized options help reduce reflected glare. Explore the collection and check each model’s lens and magnification options.
Explore Polarized Sunglasses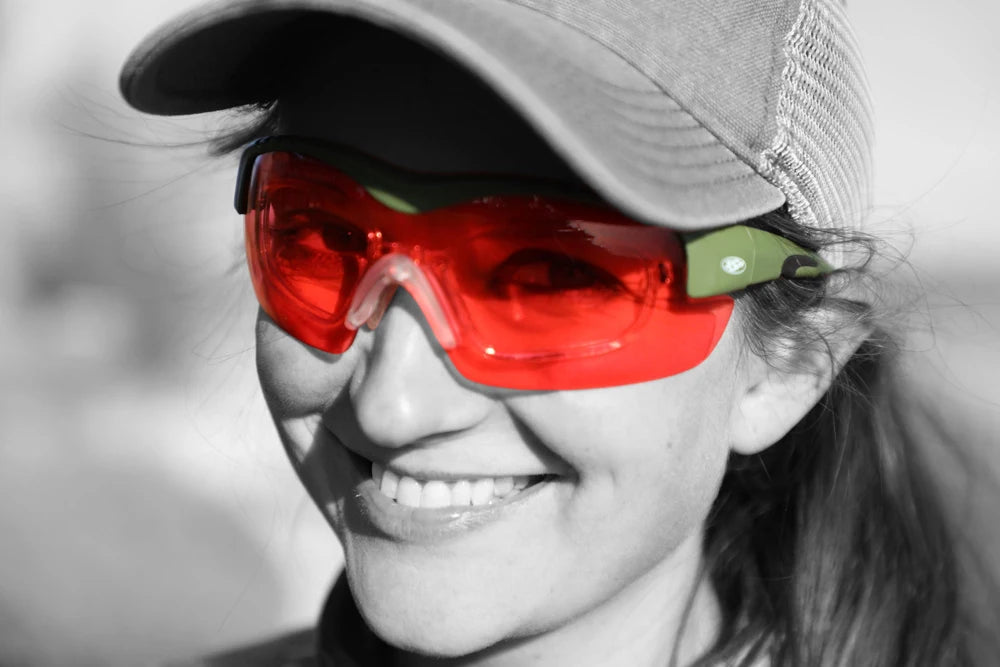
The Methow system accepts a separate prescription insert. Choose the prescription setup for your activity; the adapter alone does not include prescription lenses.
Explore Methow Rx Shotgun Kits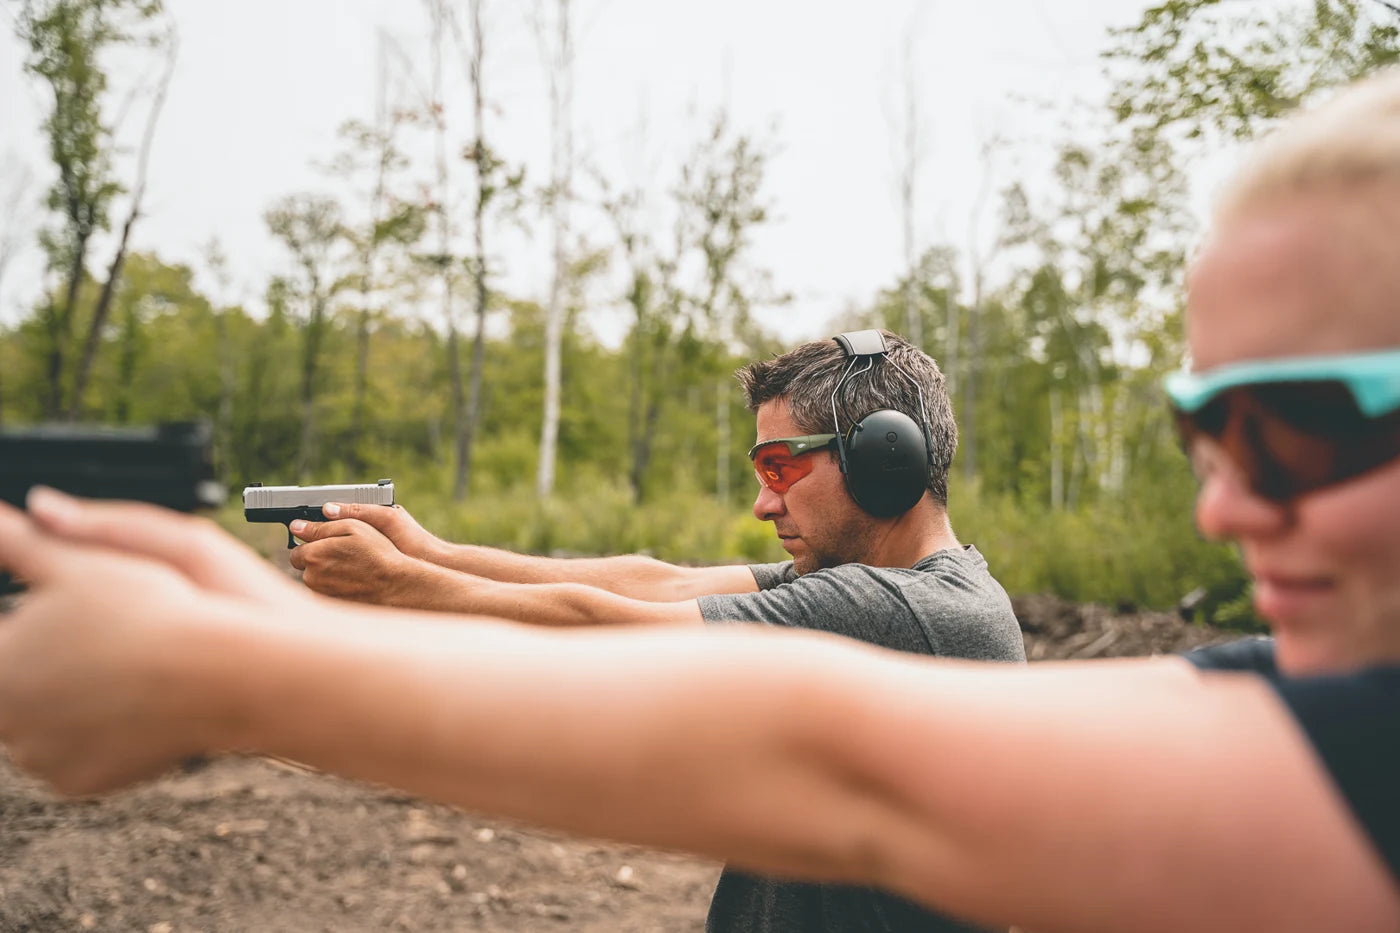
Explore Methow prescription configurations for pistol and rifle use, with a focal setup tailored to the task. Ask the SSP team about your prescription and fitting needs.
Explore Methow Rx Top Focal — Pistol / Rifle
Explore Methow prescription bifocal configurations for work and close-up tasks. Your prescription and lens setup determine the finished configuration.
Explore Methow Rx Bifocal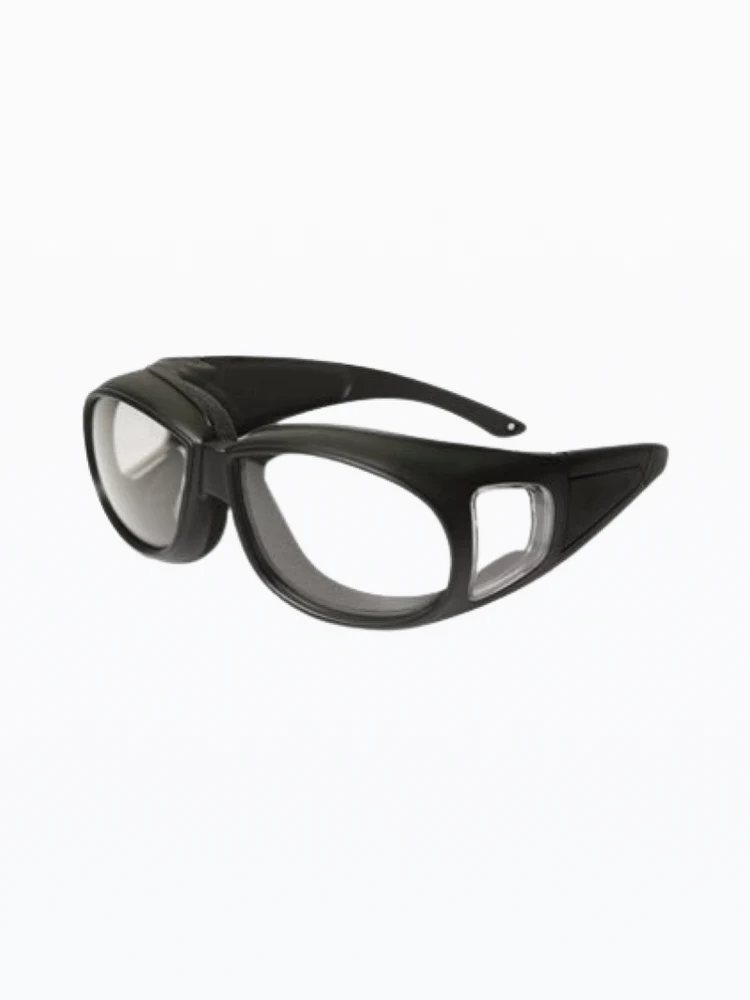
Wear protective eyewear over your existing glasses. Check the fit and measurements before choosing your pair.
Explore Over-the-Glasses
Magnification at the bottom of the lens helps with near work while the upper area stays unmagnified. Includes interchangeable lens colors.
Explore Denial Bottom Focal Kits
Magnification at the top of the lens helps bring close details into focus when you look upward. The Ultra Kit also includes bottom bifocal lenses.
Explore Top Focal® Kits
A familiar sunglass shape with a reading area low in the lens. For close-up tasks without giving up your view into the distance.
Explore Entiat Bifocals


SSP EYEWEAR HEAT PRESS PATCH
Instructions for using an iron for heat-seal patches. These are your basic DIY at-home instructions.
1. Set the iron to “cotton” or “high heat” on the temperature setting.
2. Lay the garment flat (on an ironing board).
3. Preheat the garment where the patch will be attached. You should protect your garment by putting an inexpensive cloth, sheet, or pillowcase between the iron and the garment. Then, press the heated iron firmly down on top of that cloth for 10 seconds.
4. Place the patch on the pre-heated spot. Put the cloth, sheet or pillowcase on top of the embroidered part of the patch so you don’t burn the embroidery thread. Press firmly on the iron for 15-20 seconds.
5. If possible, repeat this step through the reverse side of the garment. Be sure to use your thin cloth, sheet, or pillowcase so you don’t burn the garment.
6. This is important: Your glue will be hot and liquified but it will cool fast and harden soon. Be very careful to not let the patch move around on the garment before the glue hardens. If it moves around, the bond will not be as secure.
7. Set your garment aside and let it cool back down to room temperature.